How to install Cisco Packet Tracer on Fedora linux
2 Ways to get Cisco packet tracer running on Fedora RPM
While trying to install Cisco Packet Tracer on Fedora I found that there’s no official RPM package for it, so I thought of using Wine to install the Windows version, but before then while looking around I found a GitHub script that can be used to install the Ubuntu package on Fedora. In this article I’ll show you two ways I installed Cisco Packet Tracer on my Fedora PC as well as their pros and cons.
How to install Cisco Packet Tracer on Fedora using the Ubuntu deb package
Downloading the Ubuntu package
Visit the Cisco resource hub at https://www.netacad.com/resources/lab-downloads and make sure to login or signup as you won’t be able to download any file without an account.

After downloading the package you can then move on to the next step.
Git cloning the installer script
Fedora and Ubuntu packages are compiled differently — so how do we install an Ubuntu package (.deb) on Fedora (.rpm)?
This is possible because .deb and .rpm are just different boxes for program files, and Linux programs are just files that live in folders. Linux doesn’t really care what box the program files came from, but where they end up.
So if we open a .deb box and put the files it contains in the right places where the Linux system can use them, we’ll be able to run the program inside the .deb box in an .rpm based Linux distro.
A big thanks to @Thiagoojack — there’s a script available on GitHub that automates the process called packettracer-rpm-based. It handles the extraction and installation specifically for Cisco Packet Tracer on RPM based distros. To use it we have to first clone the repo by running:
1
git clone https://github.com/thiagoojack/packettracer-rpm-based
Installing Packet Tracer
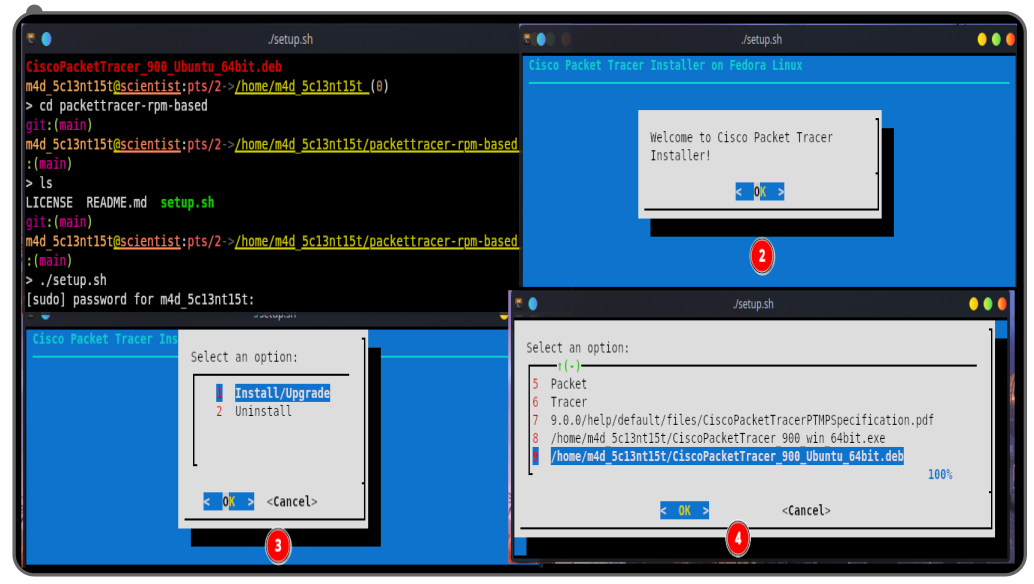
- Navigate to the script directory
1
cd packettracer-rpm-based - Make the script executable
1
chmod +x setup - Run the setup script
1
./setup
The installer will guide you through the process:
- Enter your sudo password when prompted
- Click OK on the welcome screen
- Select “Install/Upgrade”
- Choose the CiscoPacketTracer .deb file you downloaded
- Accept the EULA license
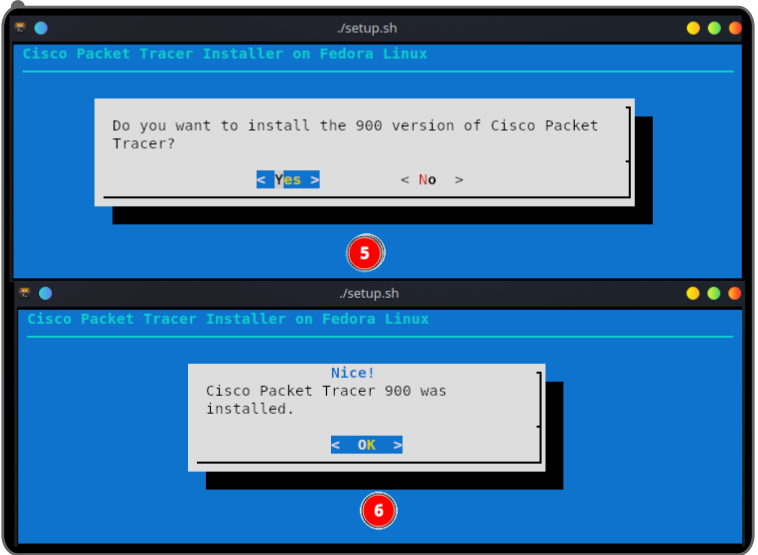
That concludes the installation process with the packettracer-rpm-based script. To uninstall Cisco Packet Tracer you can run the setup script and select Uninstall.
Launching Packet Tracer
Depending on your desktop environment, after installing Packet Tracer you should be able to search and launch Cisco Packet Tracer from your apps menu.
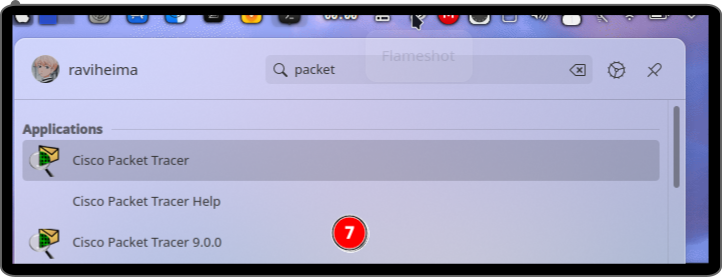
But in some cases your desktop environment won’t show Cisco Packet Tracer in the app list, so the most reliable method for launching it after installation is to run:
1
packettracer

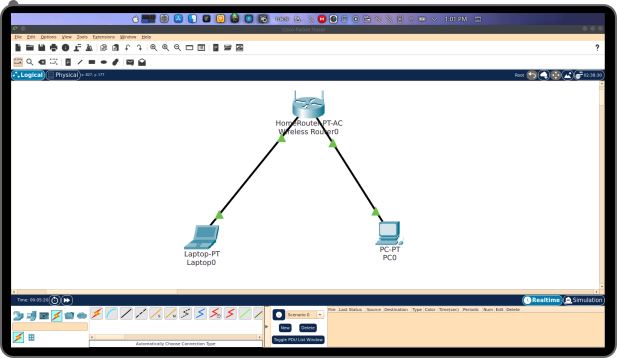
You can then login and start creating your network simulations.
Problems I Experienced while using Cisco Packet Tracer with the Ubuntu Installation Method
The first problems I faced after installation were:
- I couldn’t login — normally when you click the login button you get redirected to your default browser to login to your Cisco account, and on successful login you get redirected back to Packet Tracer. But it didn’t work on KDE; I was getting an xdg-open Qt error in the logs. Interestingly, on XFCE the login worked perfectly, so this appears to be a KDE-specific issue. I’ll cover the workaround in a separate post.
- When clicking app buttons like Getting Started or Tutorials nothing opens, as they’re supposed to redirect to the browser to access those resources.
I found a fix for this issue, written in this article: Problems I faced while using Cisco Packet Tracer on Linux
How to install Cisco Packet Tracer on Fedora using Wine
Installing Wine
Installing Wine on Fedora is a straightforward process — just run:
1
sudo dnf install wine
Installing Packet Tracer with Wine
First download the Packet Tracer package for Windows from the Cisco resource downloads, then navigate to the download location in your terminal and run:
1
2
cd Downloads
wine packet-tracer.exe
After running Wine with the Windows Packet Tracer installer you should be prompted with the installation window.
Launching Packet Tracer
After installing Packet Tracer with Wine it should appear in your list of apps and you can launch it from there.
Conclusion
After testing both methods I noticed the Packet Tracer installed with Wine performed poorly — it was slow and would freeze or crash at times. The one installed using the Ubuntu package was fast, stable, and fully functional, with the exception of the login issue on KDE which is easily worked around.
Thanks for reading and don’t forget to subscribe to my newsletter to stay up to date with my posts. See you in the next one.